How to Use Remote Desktop Connection Windows 10
What is Remote Desktop Connection?
Remote Desktop Connection (RDC) is a feature in Windows that enables you to use your computer from a remote location. RDC provides a secure connection to your computer so you can work with it as if you were sitting in front of it. With RDC, you can access files, folders, windows, and applications on your computer just as if you were on the same network.
How to Use Remote Desktop Connection Windows 10
If you are looking for a way to remotely access your computer from another location, then you should try using Remote Desktop Connection. This tool allows you to connect to your computer and use the same user account that is already logged in.
To start using Remote Desktop Connection, first open the Settings app on your computer. Under System and Security, click on Remote Desktop. You will now see a list of remote locations that you can access. If you do not have a remote location set up yet, then you can create one by clicking on the Add button.
You will now need to enter your login credentials for the remote location. For example, if you are connecting to your computer from work, then you would type in your username and password. Once they have been entered, hit the Connect button to start the connection.
Depending on how many devices are connected to your computer via Remote Desktop Connection, it may take some time for the connection to be established. When it is ready, you will see a message indicating that the connection has been established. You can then launch programs or windows on your computer from the remote location as if they were running locally.
How to Use Remote Desktop Connection
Remote Desktop Connection (RDC) is a feature of Microsoft Windows that allows users to access their computer from another location. RDC provides a secure connection to the computer, so users can work on files without having to be present at the computer.
To use RDC, you need to first install the Remote Desktop Services client on your computer. The client will then automatically start when you start your computer. To connect to your computer using RDC, follow these steps:
1. Open the RDP client on your local machine.
2. In the RDP client, click Connect to server .
3. Enter the IP address or hostname of your remote machine in the dialog box that appears.
4. In the Username field, type your user name on the remote machine.
5. In the Password field, type your password for the user account on the remote machine.
6 Click Connect .
Tips for better use of Remote Desktop Connection
There are many ways to improve the use of Remote Desktop Connection on your Windows PC, depending on your needs. This article provides tips for better usage:
1. Set up a regular schedule. Make sure you use Remote Desktop Connection regularly, at least once a day. This will help it to operate more smoothly and take less time to start up.
2. Keep an eye on taskbar icons. Avoid having too many programs running in the background using Remote Desktop Connection, or you’ll slow down the connection. Only have three or four programs open in the background at any one time, and make sure they’re all compatible with Remote Desktop Connection.
3. Use the hotkeys. You can speed up your work by using keyboard shortcuts to control certain aspects of Remote Desktop Connection. For example, you can use Ctrl+Alt+Del to close a program that’s running in the background, or press F8 to open the Task Manager and stop any active processes that are using bandwidth from your computer’s network connection.
4. Use expandable files sizes. If you need to send larger files through Remote Desktop Connection, try setting them to be compressed before uploading them over the network. Compressing files saves bandwidth and makes downloading them faster overall.
How to Connect to a Remote Desktop Connection
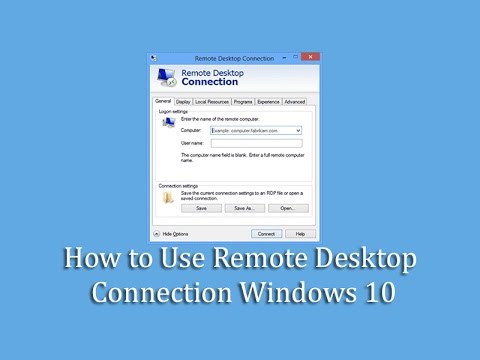
1. Open the Remote Desktop Connection program on your computer.
2. Click the “Create New Profile” link in the left column of the Remote Desktop Connection window.
3. Enter a descriptive name for your new profile, such as “Local Desktop”.
4. Click the “Create” button.
5. In the “Profile Type” box, select “Remote Desktop Connection (RDC)”.
6. In the “Server Name” box, type or paste the name of the remote computer you want to connect to into it.
7. Click the “Use Default Profile Settings” checkbox if you want to use default settings for this connection or deselect it if you want to customize them.
8. Enter a port number for this connection in the “Port Number” box and click OK . The default is 2559 .
9. In the Local Machine section, click Change Appearance and then select Windows 7 or Later under User interface type and click OK . If you are connecting to another computer running Windows XP or earlier,click Connect Using Legacy RDP Settings . 10. Under Select Your Session Options, click Advanced and then select Use My Current User Account under Authentication Type . 11. Click OK three times to save your changes and close Remote Desktop Connection
conclusion
Remote Desktop Connection (RDC) is a feature in Windows that allows you to connect to a remote computer and work on the files or applications on that computer. RDC provides a convenient way to access your computer from anywhere.
To use RDC, first open the Remote Desktop Connection application. Then, click the Connect button. In the dialog box that appears, type the host name or IP address of the computer you want to connect to, and then click OK. The Remote Desktop Connection window will now display the images of the windows on the target computer. Double-click an image to open it in its own window on your computer.