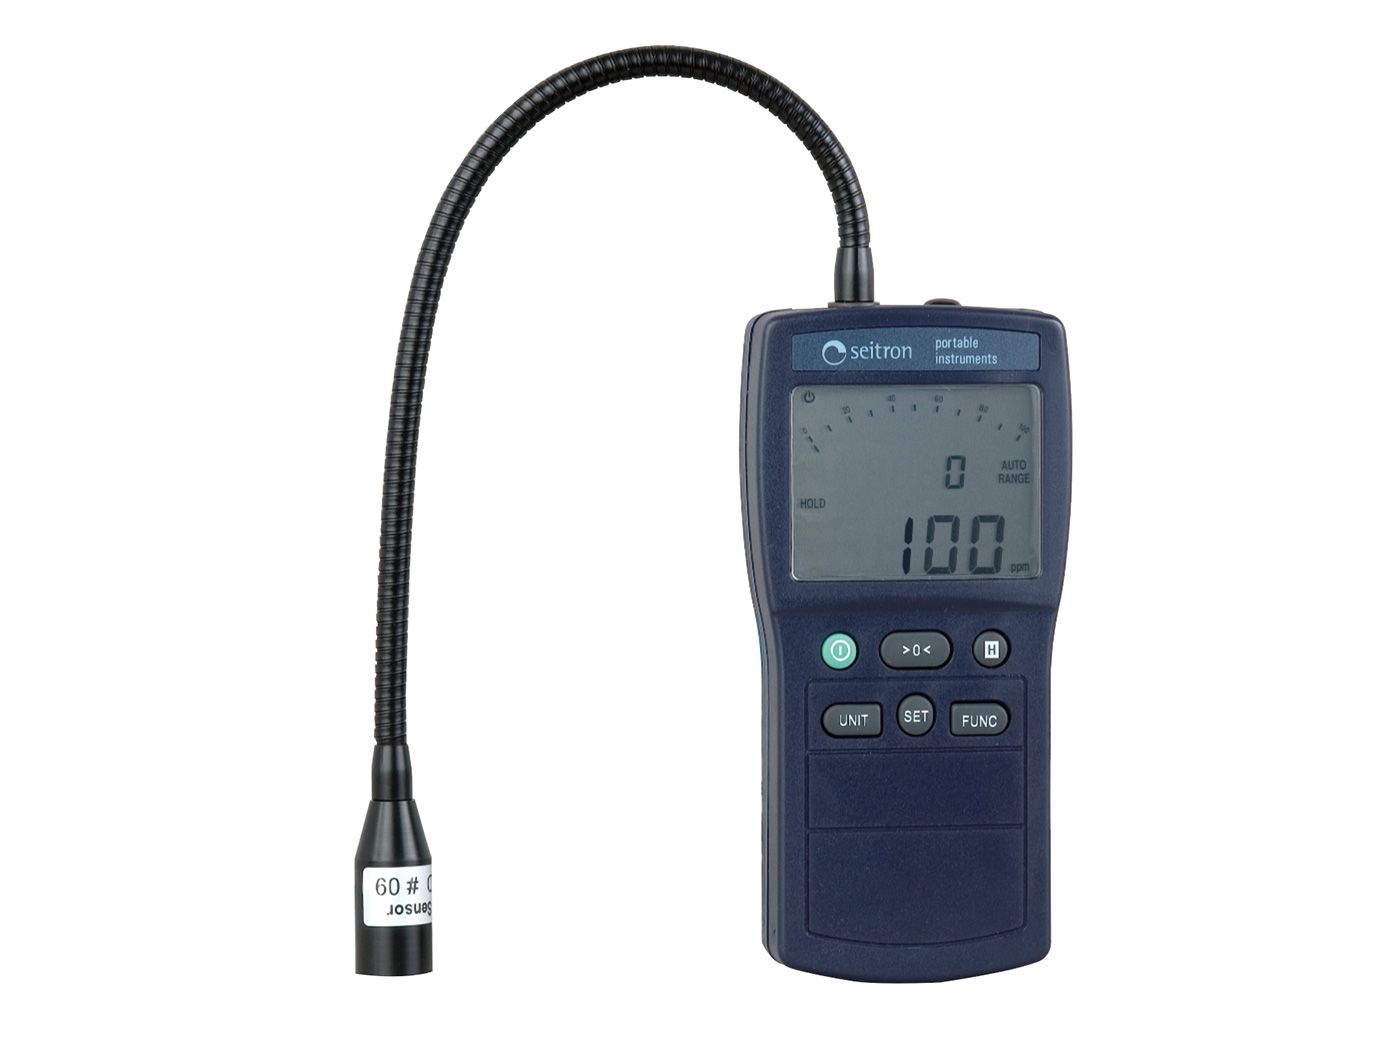
How to troubleshoot your gas detector
Gas detectors are essential for maintaining health and safety standards in the workplace, but they sometimes don’t work as expected. Here are some common problems you might face with your gas detector and tips for fixing them.
-
Excessive gas exposure
Yes, gas detectors are designed for detecting and measuring gas levels—but did you know that high exposure levels can cause false readings? The detector’s sensor can fail when exposed to extremely high gas levels, changing the calibration curve and lowering accuracy.
Modern gas detectors will usually send an alert or warning when the sensor has failed. However, this system may not work as intended under particularly harsh conditions, and the meter may still appear functional.
The best way to tackle this problem is to prevent it from happening in the first place! All gas detectors come with a set range. To prevent sensor failure, make sure to invest in a gas detector with a detection range that suits your application.
If the sensor does fail, it’s best to take your device to a licensed service person to replace the broken part.
-
Environmental issues
Gas detectors can also fall victim to hazardous environmental conditions or water, dust, and dirt particles. Debris can block the sensor chamber, preventing it from detecting gases in the atmosphere, while harsh environmental conditions like extreme temperatures can break the device.
To prevent and clear blockages, make sure to clean your detector regularly. A quick wipe down with a water and dish soap solution should be fine for daily cleaning, but try a mix of fifty parts water to one part bleach for a deeper clean.
To avoid environmental damage, choose a detector suitable for the atmosphere you’ll be working in. For example, if you’re working around harmful or flammable gases, an ATEX certified industrial scientific sensor is a smart choice.
-
Calibration drift
Regardless of the make or model of your gas detector, it’s likely to draft over time. You’ll need to calibrate the device to continue taking accurate readings when this happens.
Calibrating a gas detector is a simple process. All you’ll need is your device, a ventilated space, a calibration gas cylinder, a regulator, a sampling hose, and an airtight clip.
To perform the calibration:
- Connect the bottom part of the regular to the top part of the gas cylinder. Attach the sampling hose to the regulator’s top connection.
- Attach the airtight clip to the detector. Make sure to choose a clip that matches the gas type of your detector.
- Attach the sampling hose to the airtight clip. Ensure the gas entry path follows the appropriate flow direction as indicated on the clip.
- Turn on your detector as you open the regulator. You should hear a beeping sound and, after a few seconds, the device’s internal alarm.
- Turn the alarm off and close the regulator. Detach all connections and make sure to ventilate the regulator and detector. Your device is ready to go!
Maintenance is key
Regular maintenance and quick troubleshooting when issues arise with your gas detector are critical for workplace safety. By following the above tips, your device will keep your staff protected from dangerous gas leaks for years to come.